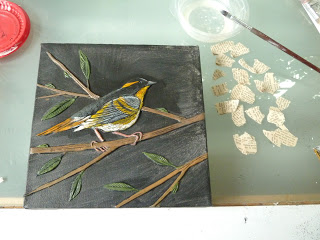
People ask me how I add my "newsprint" backgrounds to my paper clay pieces. So here is the process...After I have painted my paper clay piece, I tear up book pages, newspaper pages or whatever I am working with...removing headlines, lines, empty space, and anything that is not consistently the same size type.
 |
| Using Elmers Glue (I use School Glue because it can be reconstituted if you want to remove it) and water (equal amounts) I paint on the glue and add the paper scraps bit by bit. I paint over and under them as I go. |
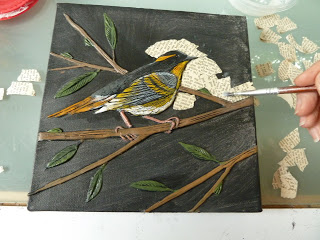 |
| I always fit around the images first and then fill in the rest. Sometimes a little cutting is necessary to fit tight corners...but mostly, the edges are all torn. |
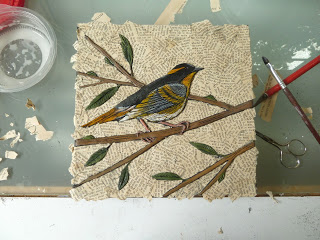 |
| When finished, I sand the edges to make a nice clean edge and paint the sides of the canvas black. |
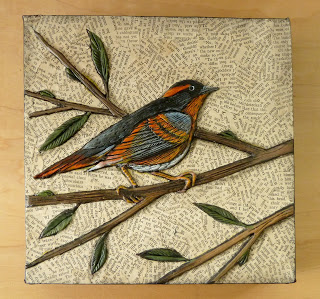 |
| My last step is to paint the whole thing with Matte Medium. Sometimes, I will go around all the edges of the paper clay image with a light black acrylic wash to help give it a more polished took. It helps to integrate the background with the paper clay image. |
| |
Take a class with me sometime!